How do you track projects with a project board?
You track a project with a board by breaking the work into task cards and moving each card left to right through columns that represent your stages, usually something like "To do," "Doing," and "Done." The board is a single shared picture of where every piece of work sits right now, so progress is something anyone can glance at instead of something you hold a meeting to discover. That is why boards have outlasted every fancier tracking method for teams that work in a flow. The honest catch is that a board only works if people keep it current, and a stale board is worse than none, because it lies. The real skill is not building the board, it is the daily habit of moving cards as the work moves.
How does tracking on a board actually work?
A project board lays your tasks out as cards in columns that read left to right, from not-started to finished. You track the project by moving each card one column rightward as its status changes. The position of a card is its status, which is why you never have to ask "where are we on this" out loud.
Picture an agency running a product launch for a client. The work breaks into clear tasks: write the copy, design the ad creative, schedule the social posts, build the email flow, monitor results. Each becomes a card with a named owner and a due date. A card in "Doing" is being worked on right now; one in "Done" is finished and out of mind. When the designer hands a finished creative to the person scheduling posts, the card moving columns is the handoff. No status email, no chasing.
The quiet power is in what the board surfaces without anyone reporting it. A card that has sat in "Doing" for three days is a flag. Maybe the task is blocked, maybe it was always too big, maybe the owner is stuck and has not said so. The board makes that visible before the deadline slips, which is why it beats a weekly status meeting. This visual flow is really a lightweight workflow: stages in order, work moving through them, every stall on display.
How to set up your columns and stages
Start with three columns and resist the urge to add more on day one. "To do" holds work ready to be picked up, "Doing" holds active work, and "Done" holds what is finished. That is enough for most projects, and it is the setup people actually keep current. Extra stages feel thorough, but a column nobody uses just makes the board harder to read.
Add a stage only when the work genuinely passes through it. A team that checks every deliverable before it ships earns a "Review" column. A team that often hits external dependencies earns a "Blocked" column, so stuck work has a home instead of clogging "Doing." If you are unsure whether you need a stage, leave it out and add it later when the missing column starts to hurt.
The setup, step by step
List every task as its own card, with enough detail that someone else could pick it up without guessing. Give each card one owner, not a team, because work that belongs to "everyone" belongs to no one and sits untouched until it is urgent. Add a due date so a late task announces itself. If your team starts more than it finishes, cap how many cards can sit in "Doing" at once, a work-in-progress limit, which forces people to finish things before grabbing new ones.
Then attach the context to the card itself. Files, links, comments, and checklists belong on the task, not buried in a chat thread, so nobody has to go hunting to find what was decided. When you run the same kind of project repeatedly, save a clean version as a template rather than rebuilding columns. In Breeze you can clone a past board in one click and copy task lists between projects, the difference between a board you set up once and one you set up forty times. If your project runs to a fixed deadline, the board sits inside a wider simple project plan rather than replacing it.
How do you keep a board current and honest?
Move cards the instant status changes, not at the end of the day and certainly not the end of the week. This is the one rule that decides whether a board helps or hurts. A board that lags behind reality is worse than a notebook, because people trust it and act on stale information. The upkeep is tiny, a single drag per task, as long as it stays a reflex.
Build the board into your existing rhythm so it never becomes a separate chore. If you run a standup or a weekly review, do it in front of the board and walk the columns right to left, starting with what is nearly done. That turns the meeting into a scan for stuck cards rather than verbal updates, and surfaces the questions worth asking: what has been in "Doing" too long, what is piling up in "To do," who is overloaded.
Keep the board lean over time. Archive finished cards so "Done" does not grow into a wall, retire columns you stopped using, and split any task that keeps getting stuck because it was secretly three tasks. A board should stay close to how the team works, and teams change, so expect to retune it every few months. One more payoff: pulling a project status report for a client becomes a matter of reading the columns, not building a summary from memory.
Who do project boards suit, and who do they not?
Boards suit work that flows through stages and passes between people. If your project breaks into tasks that move from one state to the next, and especially if there are handoffs between roles or teams, a board pays for itself quickly. Agencies juggling client deliverables, content teams shipping a calendar, software teams working a backlog, and operations teams running repeatable processes are all in the right place. The more moving parts and people, the more a shared visual plan earns its keep.
Boards are a poor fit in a few cases. A short solo to-do list with no dependencies needs a list, not columns. Work driven mainly by dates rather than stages, like an event or a publishing calendar, often reads better on a calendar. And anything you run exactly once, with no real flow, gains little from the setup effort and just adds admin nobody maintains.
A useful test before you build one: can I break this into stages, will the team benefit from seeing progress in one place, and are there handoffs between people? Two yeses out of three and a board is worth it. If the work is just a list one person owns, keep it a list. A board's visibility only pays off when more than one person depends on the answer.
Which tracking method fits the work?
A board is one option among a few, and the best tracker is the one that matches how the work actually moves. Here is how the common methods compare, so you pick on purpose rather than by habit.
| Method | Best for | Where it falls short |
|---|---|---|
| Project board | Work that flows through stages with handoffs between people. | Overkill for short, solo, or one-off tasks. |
| Task list or checklist | Small, individual efforts with no real dependencies. | Hides who is stuck and where the work sits. |
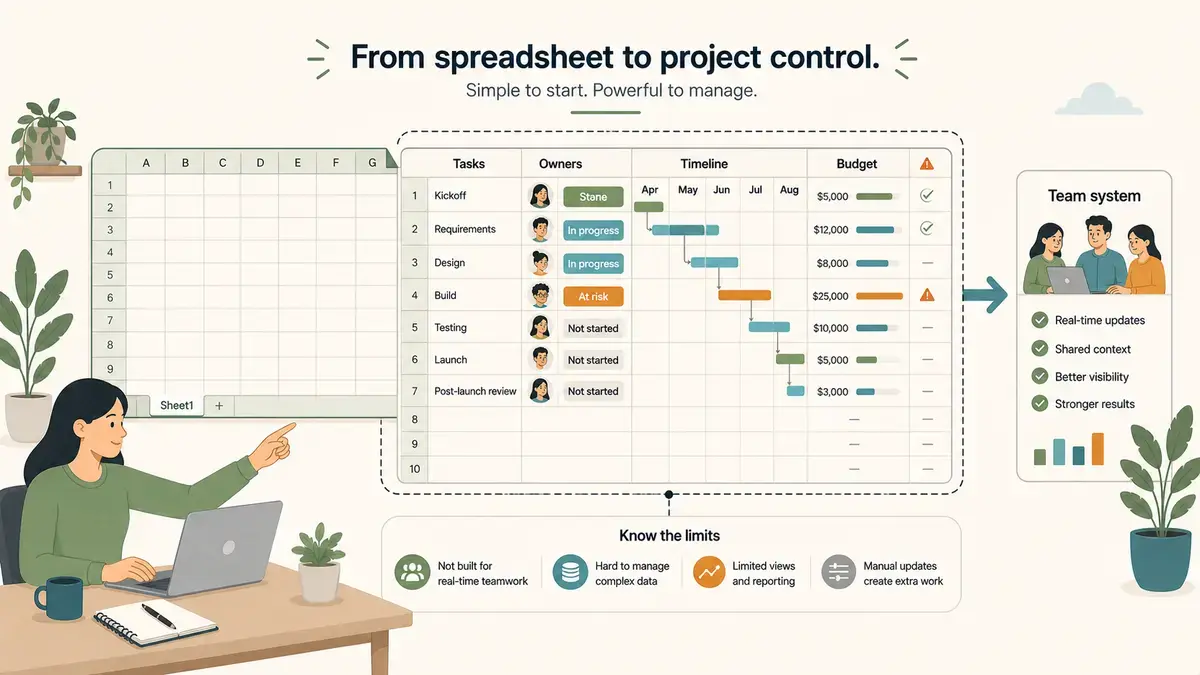
| Spreadsheet tracker | Budgets, structured data, and items that change often. | Static cells make blocked or unclear work hard to spot. |
| Calendar | Date-driven work like events and publishing schedules. | Shows when, not what stage each task is in. |
| Meeting updates | Fast-moving work decided live in regular syncs. | Nothing is tracked between meetings; memory fills the gap. |
The split that matters is visual flow versus static record. A board and a calendar show movement; a list and a spreadsheet are records you have to read carefully to understand. For work where the question is "what is stuck and who owns it," the board wins almost every time. A PwC report found that 77% of high-performing projects use project management software, and the visual board is the part teams reach for first.
Quick decision points
- How many columns should a board have?
- Start with three and only add a fourth when the work genuinely passes through that stage. Most teams never need more than "To do," "Doing," "Done," plus an occasional "Review" or "Blocked." Extra columns add upkeep, not clarity.
- What is a work-in-progress limit and do I need one?
- It caps how many cards can sit in a column, usually "Doing," at the same time. You need one if your team starts more than it finishes. The limit forces people to close out work before grabbing new tasks.
- How often should we update the board?
- Continuously. Move a card the moment its status changes, not in a batch later. A board updated in real time is trustworthy; one updated weekly is a snapshot that is wrong six days out of seven.
The short version
Track a project with a board by giving every task a card and a single owner, setting up the fewest columns your process needs, and moving each card the moment its status changes, so the board is always a true picture of where the work stands. Used that way, it replaces status meetings, surfaces blockers early, and keeps handoffs clean. Used carelessly, a stale board just misleads everyone who trusts it.
A good next step is to take your current project, list every task as a card, drop them into three columns, and assign an owner to each. If you tie those cards to a few milestones for the dates that matter, a slipping deadline shows up weeks early, while you can still do something about it.