Breeze's Integration with QuickBooks: Invoice Done Work
Everybody who works with clients needs a way to get paid for the work you've done. Collecting all your tasks and to-dos, marking what's done and what needs to be invoiced can be a daunting task. Breeze helps you with by providing estimates, time tracking and reports. At any time you can head over to the reports page and see what was done and what needs to be invoiced: just run a report with all the filtering you need.
We are always looking to extended Breeze with the best tools out there. Choosing which to prioritize can be sometimes difficult, but we always like tools that are simple and easy to use. To help you get your work invoiced we are introducing an integration with QuickBooks. It's a game-changer for any small business.
What's QuickBooks?
QuickBooks is an accounting software businesses use to manage sales and expenses and keep track of daily transactions. You can use it to invoice customers, pay bills, generate reports for planning, tax filing, and more. It's mainly used by small and medium- sized businesses and they offer online and on-premises solutions. QuickBooks lets you see how your business is doing instantly.
You can learn more about QuickBooks and how it works from their homepage. The integrations with Breeze only works with QuickBooks Online version.
How does the integration work?
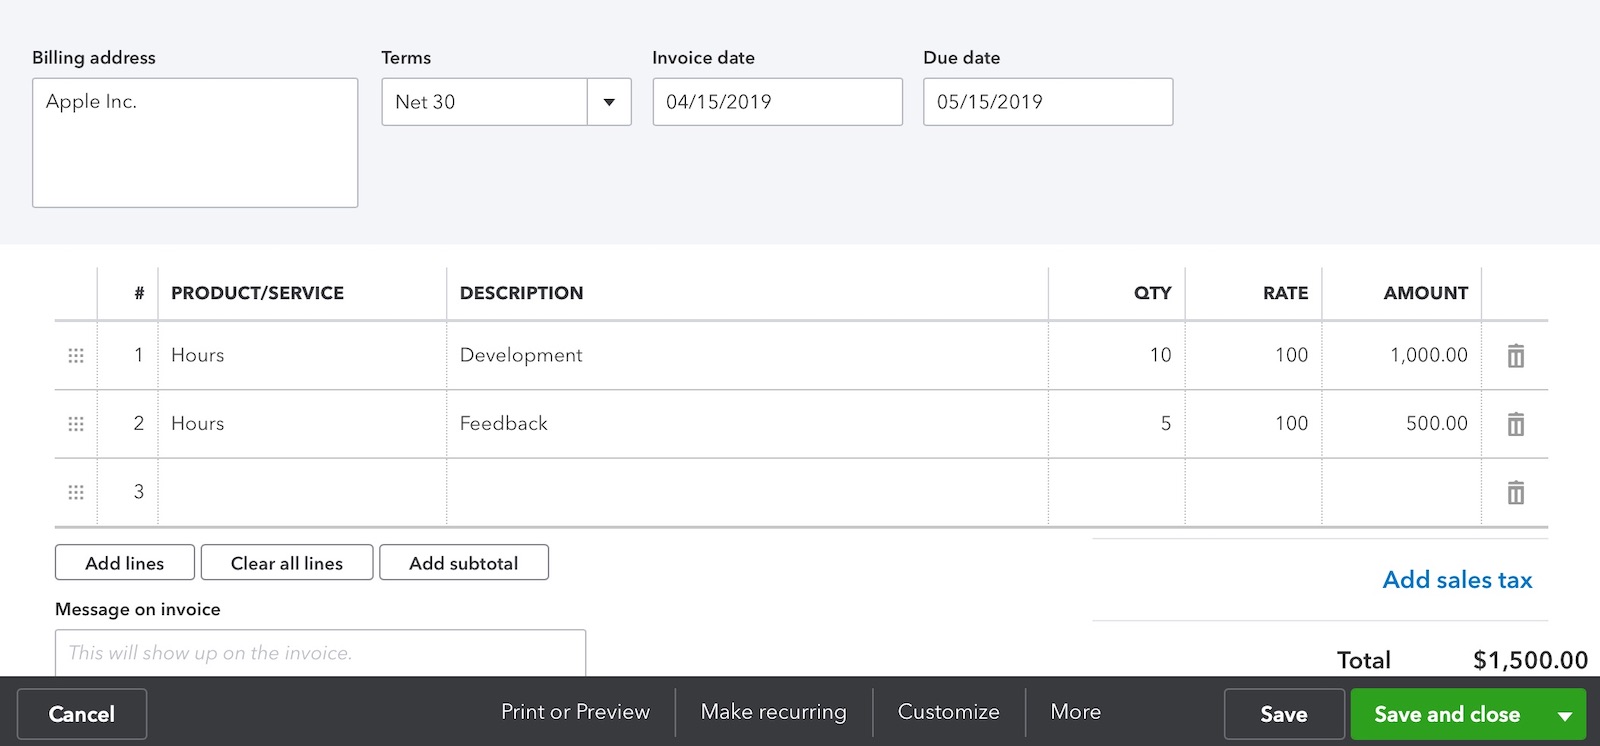
The integration works by exporting time tracking data from Breeze to QuickBooks as invoices. You can have every time entry as a line on an invoice or group them by task. The invoice lines entries depend on the report type you run in Breeze. If you are using task reports then the lines on the invoice are tasks. If you are using time tracking reports then the lines on the invoice are time entries.
For the export to properly to work you need to set hourly rates on each project because QuickBooks expects a rate for the invoice line items. You can find the hourly project rate option under the project settings in Breeze.
Sending data to QuickBooks
There are 2 steps involved in exporting your data to QuickBooks: running reports, and selecting the customer and item.
Run reports
To get started you need to run a report as usual, there are no special steps here. Choose your report type, set any filters, set timeframes and then click on the "Run it" button.
After that, you'll see an export button on the report subheading. Click on it and choose QuickBooks

Customer and items
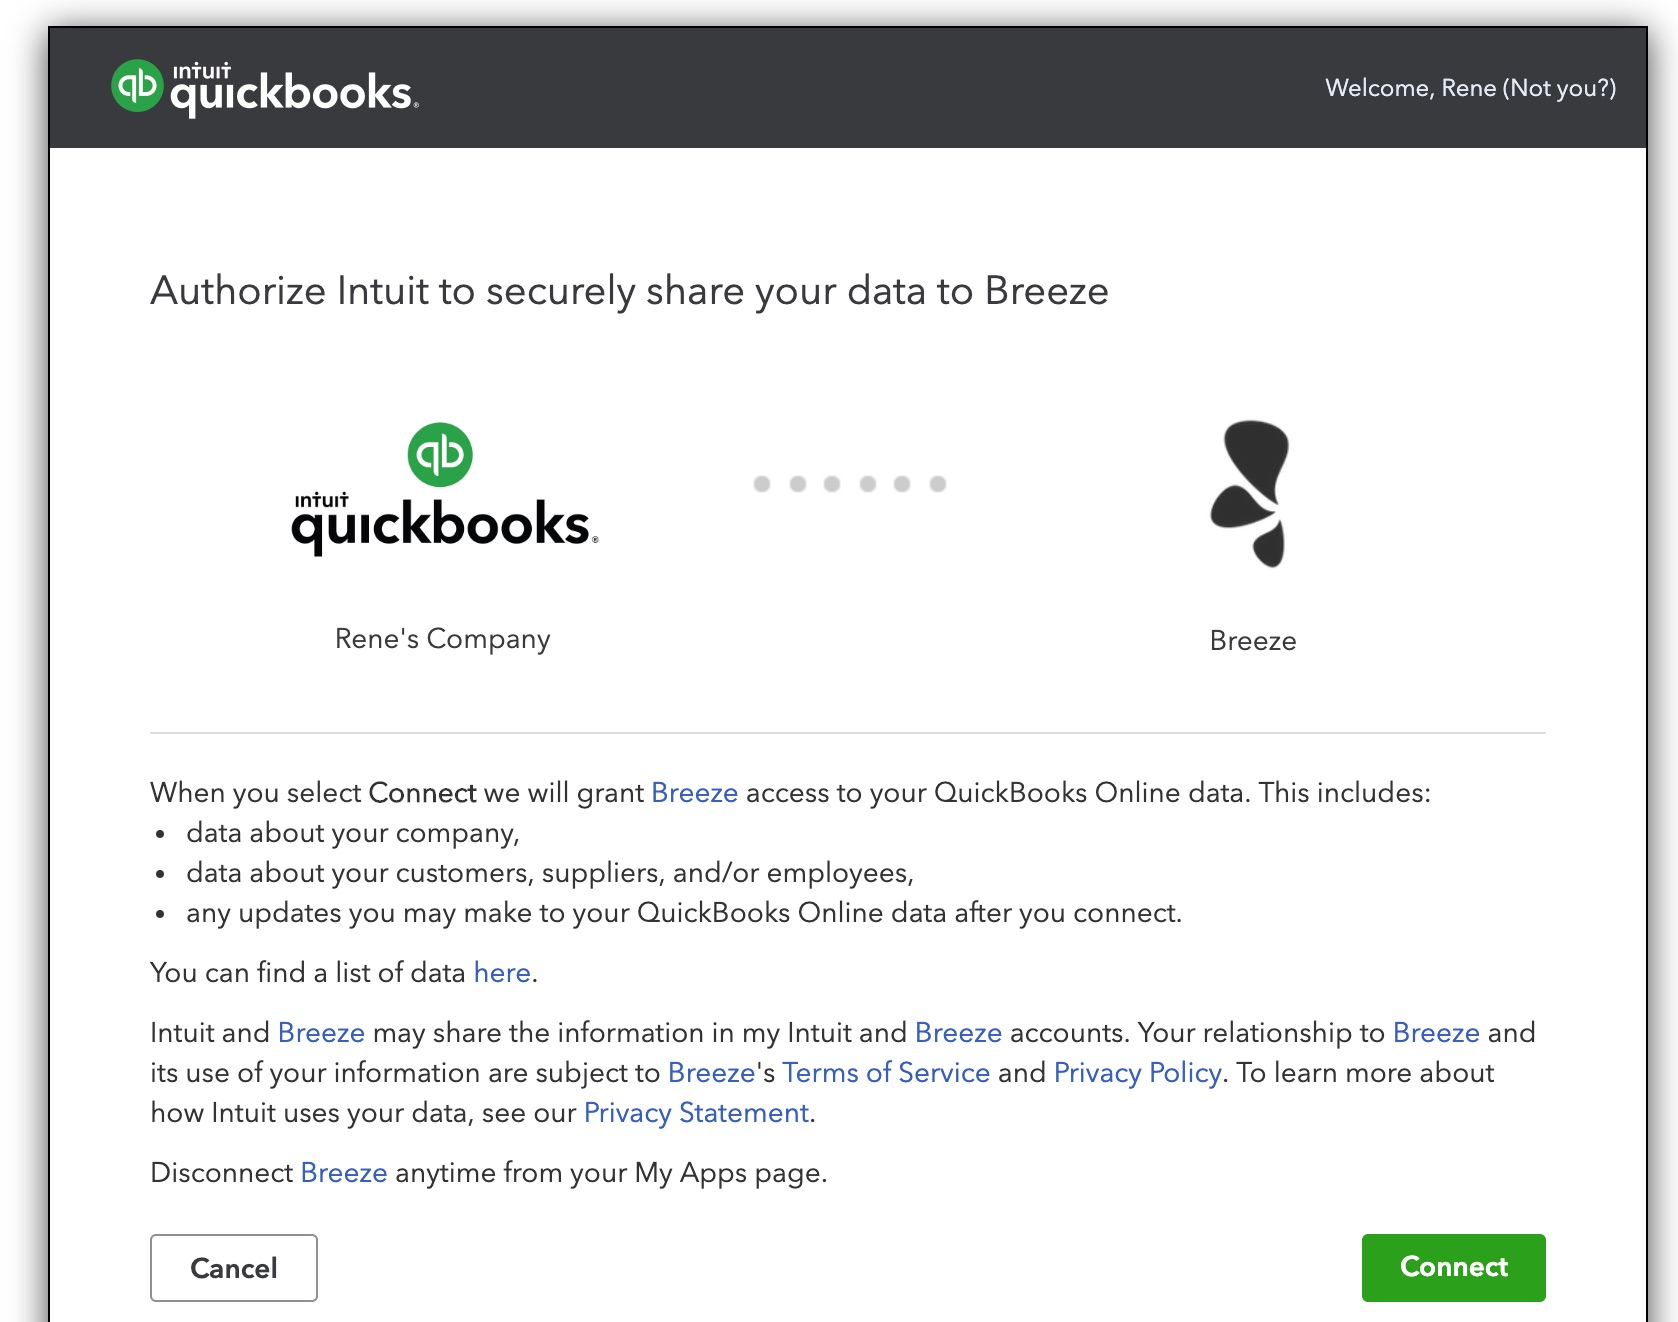
Before you can send your data to QuickBooks you need to grant authorization. The integration is individual to every user and needs to be authorized by everyone who wishes to use it. That way you can control who sees what and where you export data.
You'll see a popup window that asks you to log in to QuickBooks and then grant the authorization.

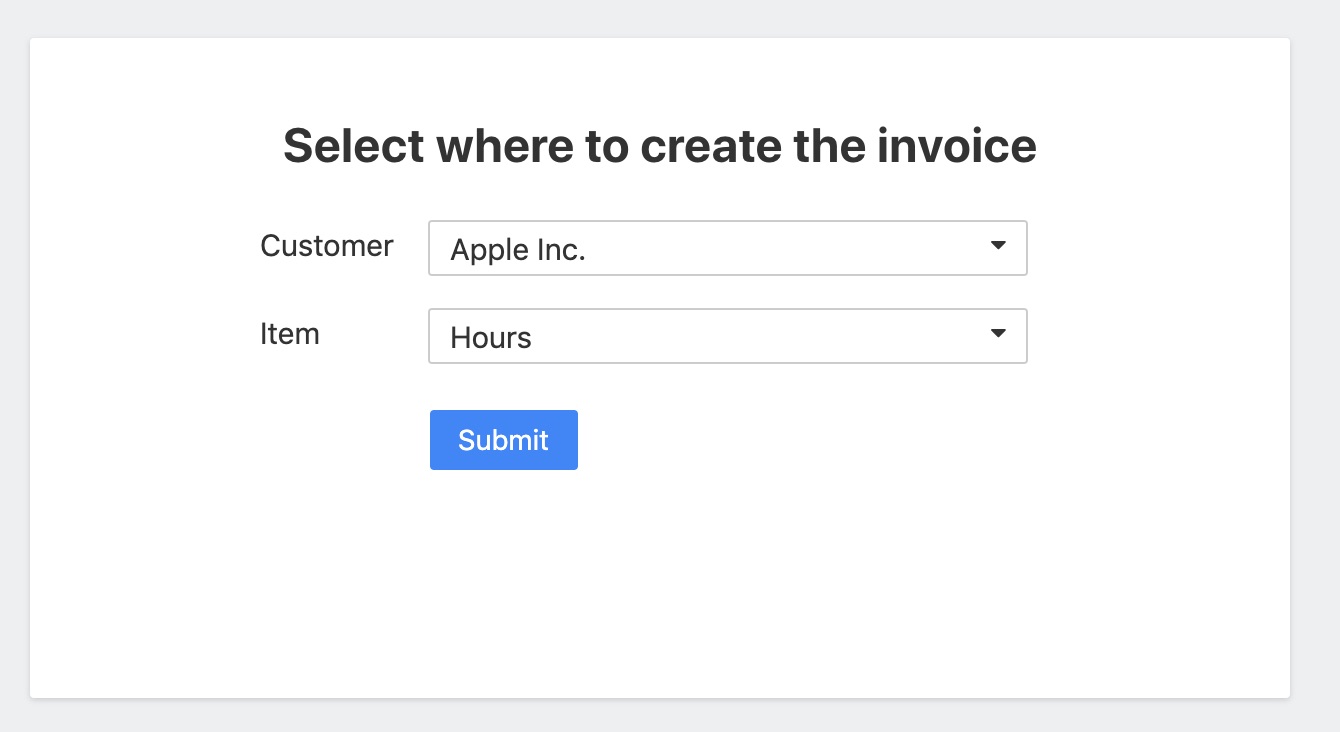
Next, you'll have to choose the customer under whom the invoice is created. Click on the customer dropdown and choose a customer.

Next, you'll have to choose the invoice line item type. Item is anything that your company buys, sells or resells in the course of business, such as products, shipping and handling charges, discounts and sales tax. It shows up as a line on an invoice or other sales forms. Here's an in-depth guide about items and how to set them up.
Because of the way QuickBooks works you are asked to grant authorization every time you export. This also lets you choose different customers and line item type each time.
Check invoice on QuickBooks
Once you have sent the data to QuickBooks you can head over to QuickBooks invoices page. Here you can make changes to the invoice and send them to the clients.

Try it out and please let us know what you think.


